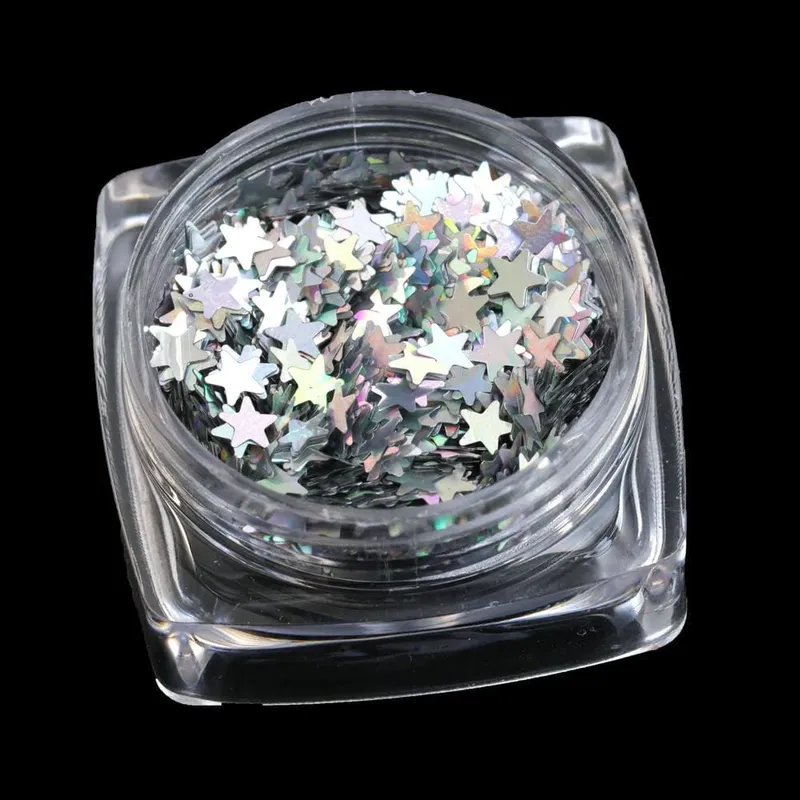
Compare glitter in the resin, depth and cure method you plan to use. Develop the particle distribution and visual effect together, then retain the accepted casting as the purchasing reference.
Resin furniture — colourful glitter suspended within a polished river table.
THE PROJECT AT A GLANCE
Finished products
Cast ornaments, decorative objects, jewellery and layered resin pieces
Working system
The actual resin, mixing ratio, working period and cure sequence
Approval reference
A fully cured casting at the intended depth and viewing orientation
WHERE THE FINISH WORKS
Define the finished product.
River tables & clear castings
Compare colourful glitter in a small resin-and-wood trial before making a full river table. Follow the resin supplier’s pour-depth and cure guidance, and assess clarity, settling and particle distribution after the complete cure and finishing process.
Layered resin designs
Identify which layer contains glitter and how subsequent layers will be applied. Keep layer thickness, timing and the chosen base consistent when comparing material candidates.
Visible shapes or mixed-cut details
Decide whether the design calls for an even distribution or deliberately positioned pieces. Approve the outline, cut and concentration in a casting rather than relying on the loose blend alone.
YOUR DEVELOPMENT CHECKLIST
Specify the process. Agree the acceptance checks.
Use these six points to prepare the sample brief. Set the test method and pass criteria for your finished product before approving a material.
Requirement
What to specify
What to verify
Resin & cure system
Resin identity, mixing ratio or cure method, working time and the actual light source if light-cured.
Use the resin supplier’s process and compare a resin-only control. Record the complete cure rather than judging the fresh mixture.
Geometry & layers
Finished dimensions, layer depth, backing colour, layer order and timing.
Make the trial at the intended depth. Inspect the result from the same angles and against the same backing as the final piece.
Particle selection
Material code, colour, shape, cut dimensions and the intended visual density.
Compare cuts in finished castings. Check recognisable shapes and edge visibility against the design reference.
Loading & placement
Glitter loading with units, mixing sequence, and uniform or deliberately positioned particles.
Observe distribution during the working period and after cure; agree what settling or placement is acceptable for the design.
Clarity & surface
The required transparency, surface texture and any finishing or clear-coating steps.
Compare colour transfer, clouding, visible bubbles and final surface with the resin control and approved reference.
Repeatability & intended use
Batch size, process controls, destination market and the finished object’s use.
Retain the accepted casting and process record. Review changes of resin, thickness, loading or cure as new qualification decisions.
CONNECT THE SAMPLE TO ITS RECORDS
Build the material review file.
Request the following for the selected grade and project. The available documents below show their own sample identity and scope.
01Traceable material reference
Keep the selected series, colour, particle dimensions and sample or batch code attached to each casting trial.
02Material safety and handling data
Request the current SDS and selected-grade technical information; follow the resin system’s own instructions for the casting process.
03Relevant material reports
Ask for the report needed for the intended project and confirm its sample identity, conditions and limits.
04Accepted casting record
Record resin identity, loading, mixing, layers, cure and final appearance alongside the retained finished piece.
Available documentation
Available documents for material review
Open the supplied originals and compare the tested sample with your specification. These records apply to the samples and methods identified in each document.
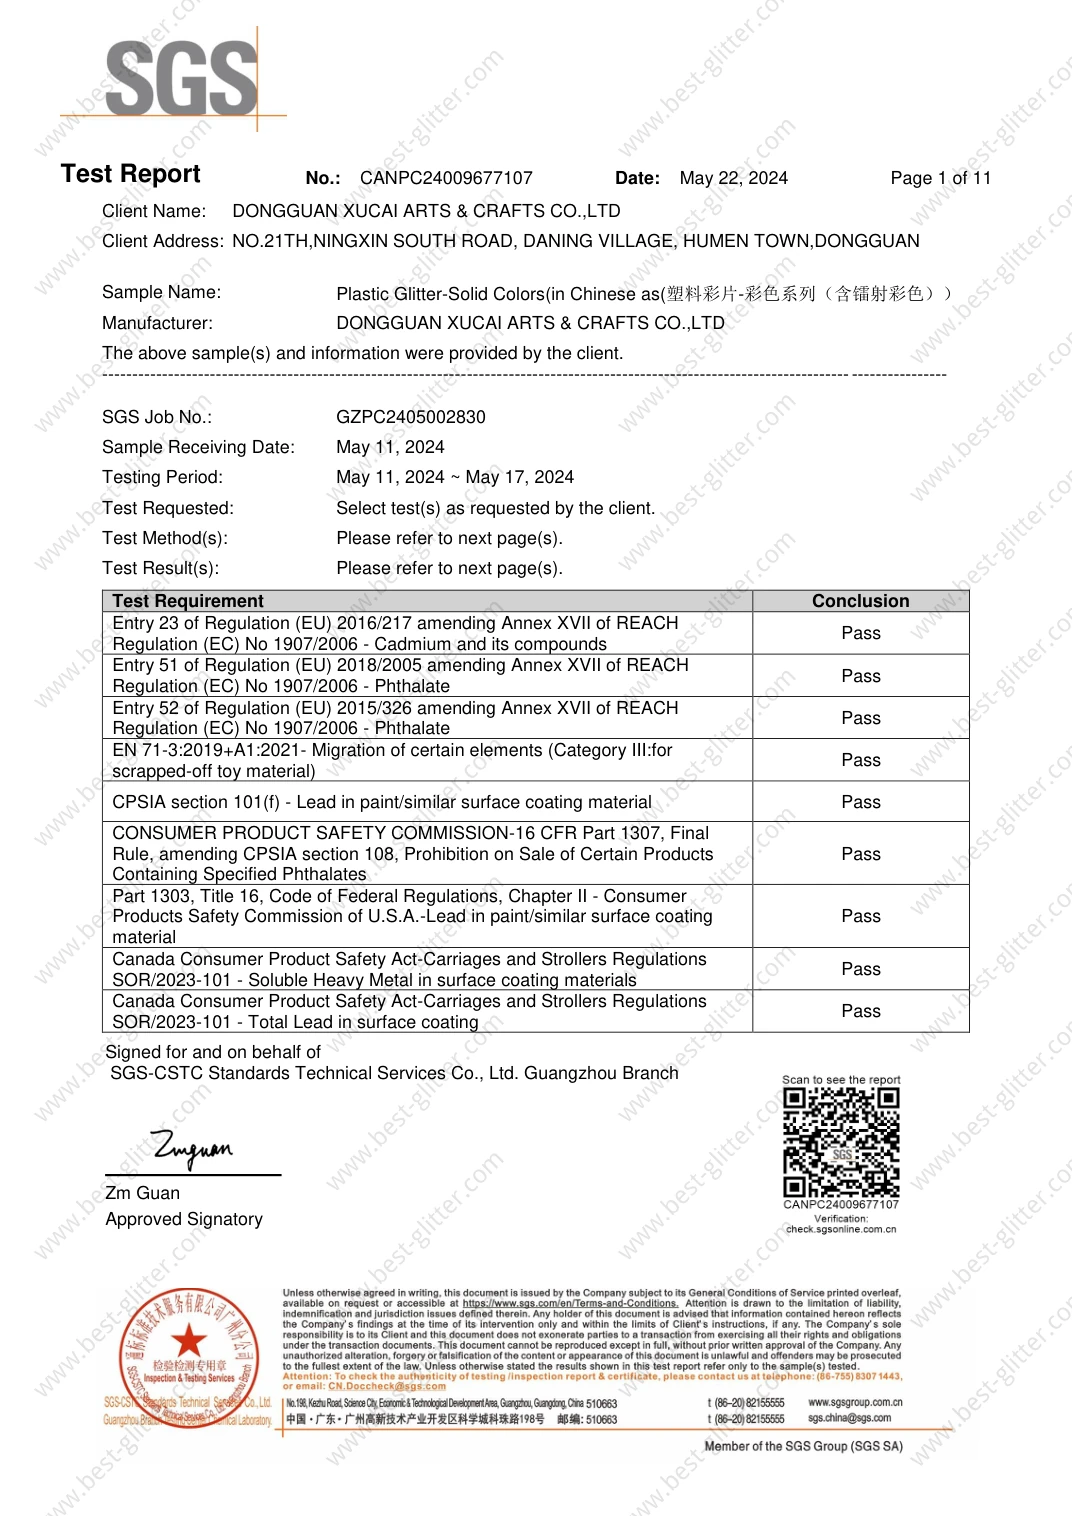
Plastic Glitter–Solid Colors, including laser colours
Scope & limitations +
Sample scope. Reference report for this colour series; confirm the current ordered grade, colour and particle size with XUCAI.
Recorded result. The listed cadmium, restricted-phthalate, lead and element-migration requirements are marked Pass. Bisphenol A and additional phthalates are reported as See Results.
Method. REACH Annex XVII: selected cadmium and phthalate requirements; EN 71-3:2019+A1:2021: migration of certain elements; CPSIA / 16 CFR: selected lead and phthalate requirements; ISO 8124-3:2020/Amd.1:2023: migration of certain elements; ASTM F963-23: selected surface-coating requirements
Applies to the submitted sample and listed tests. This is not a full REACH, toy-safety or cosmetic certification and does not cover every colour, batch or finished formulation.
Dated sample report; no expiry date is stated. Confirm the selected grade and the current requirements before ordering.
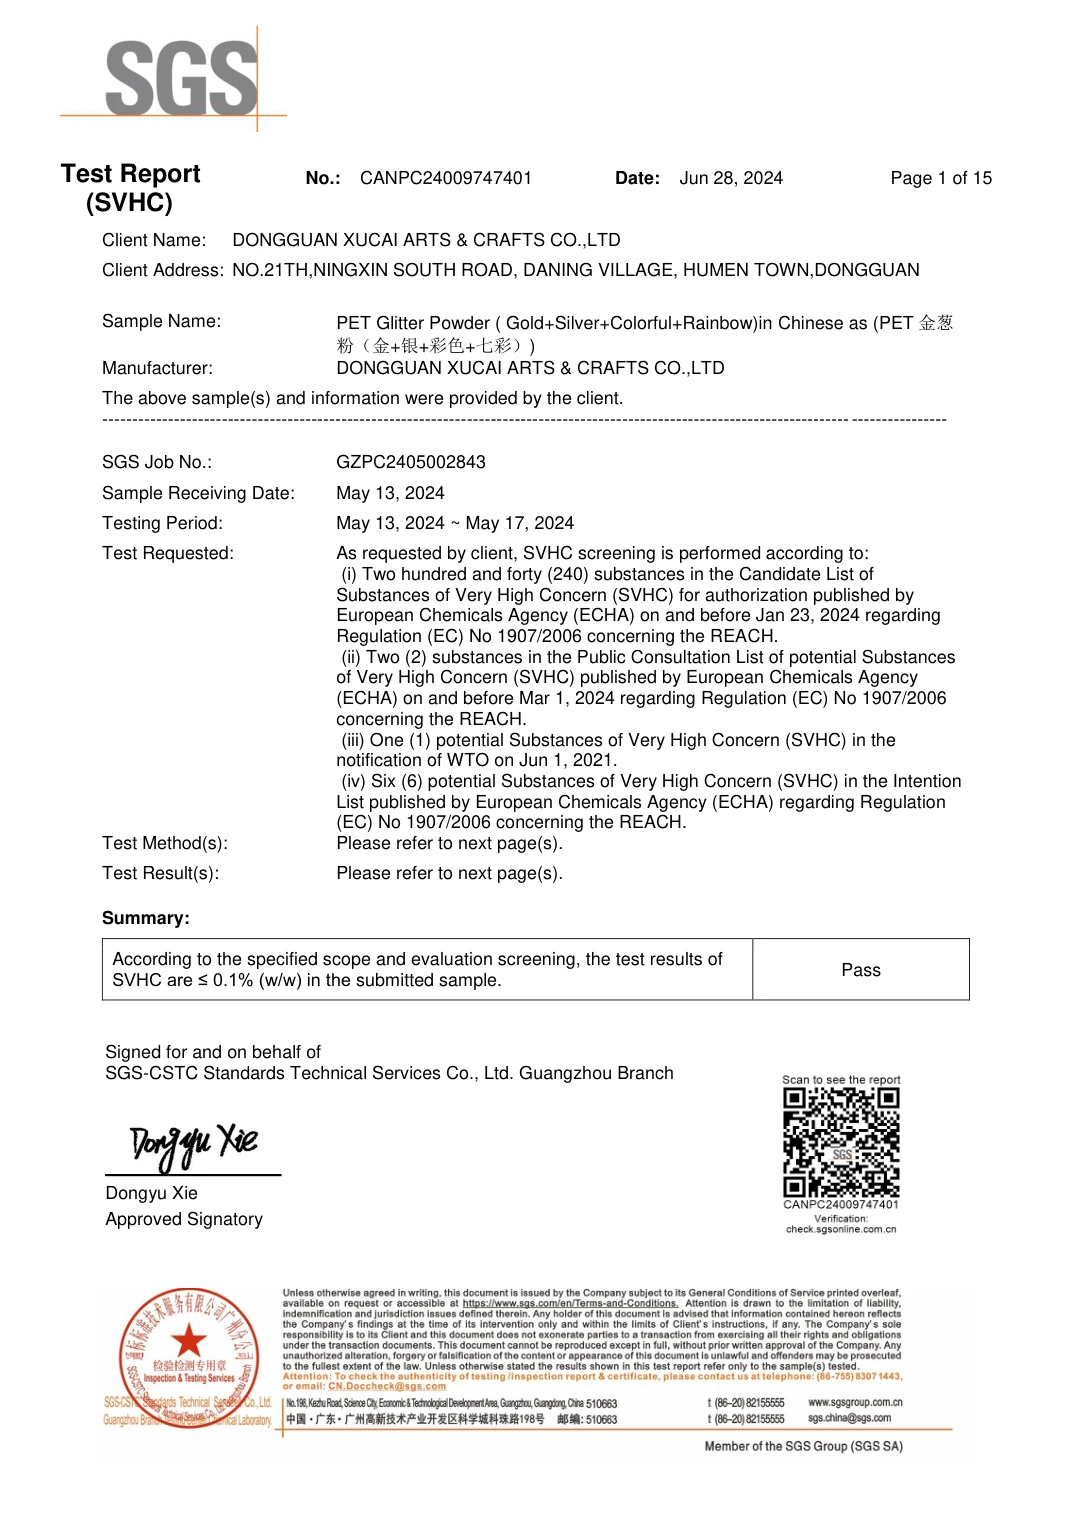
PET Glitter Powder (Gold + Silver + Colorful + Rainbow)
Scope & limitations +
Sample scope. Gold, silver, coloured and rainbow PET glitter in the submitted sample. Review the full report and request updated screening where the current market or product requires it.
Recorded result. The report records Pass, with screened SVHC at or below 0.1% by weight in the submitted sample.
Method. 240 ECHA Candidate List substances published on or before 23 January 2024; Additional consultation / intention substances expressly listed in the report
The substance list is dated and may have changed. This is not proof of compliance with the current entire REACH regulation or approval for cosmetic, food-contact or other finished-product uses.
Dated sample report; no expiry date is stated. Confirm the selected grade and the current requirements before ordering.
A test report records a result for a submitted sample. An SDS or MSDS provides safety information. Neither should be presented as a certification of every colour, series or finished product.
FROM PROCESS TO PARTICLE
A practical selection path.
01
Define the resin system and finished geometry
Provide the resin identity, mixing or cure method, working time and intended thickness. If the process uses light curing, identify the actual lamp and exposure programme for the trial.
02
Compare a controlled set of samples
Keep resin quantity, glitter loading and mixing method consistent. Use a clear resin control and compare one material or particle variable at a time.
03
Observe the working period and cure
Record changes from mixing to final cure, including where the particles finish within the piece. Check the result at the actual depth and viewing orientation.
04
Approve and retain the finished piece
Keep the accepted casting, loose material and preparation record together. Recheck the relevant properties if resin, layer thickness, loading or cure conditions change.
PHYSICAL MATERIAL REFERENCES
Material samples to trial.
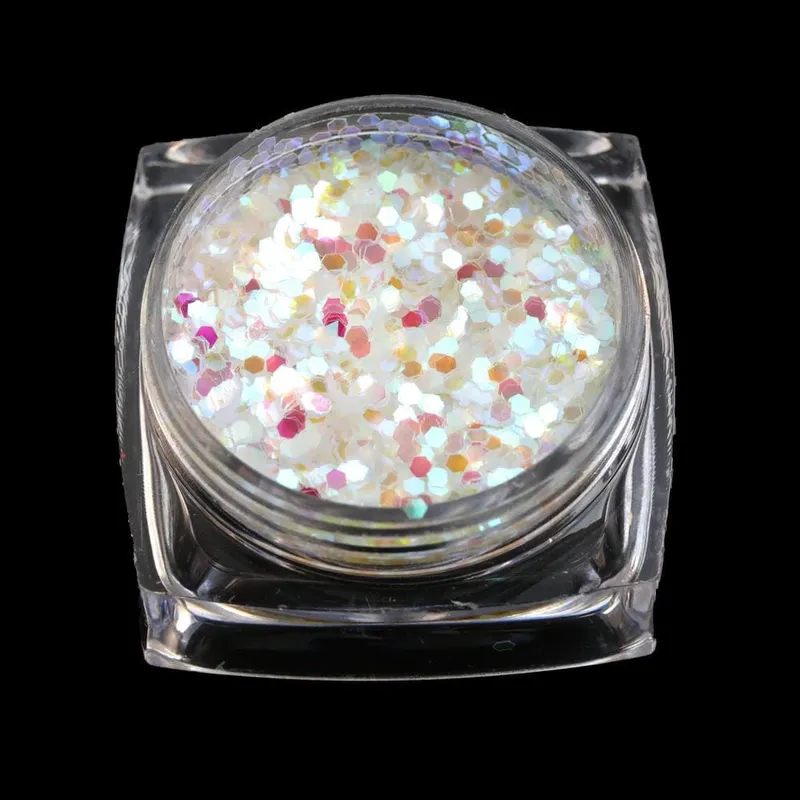
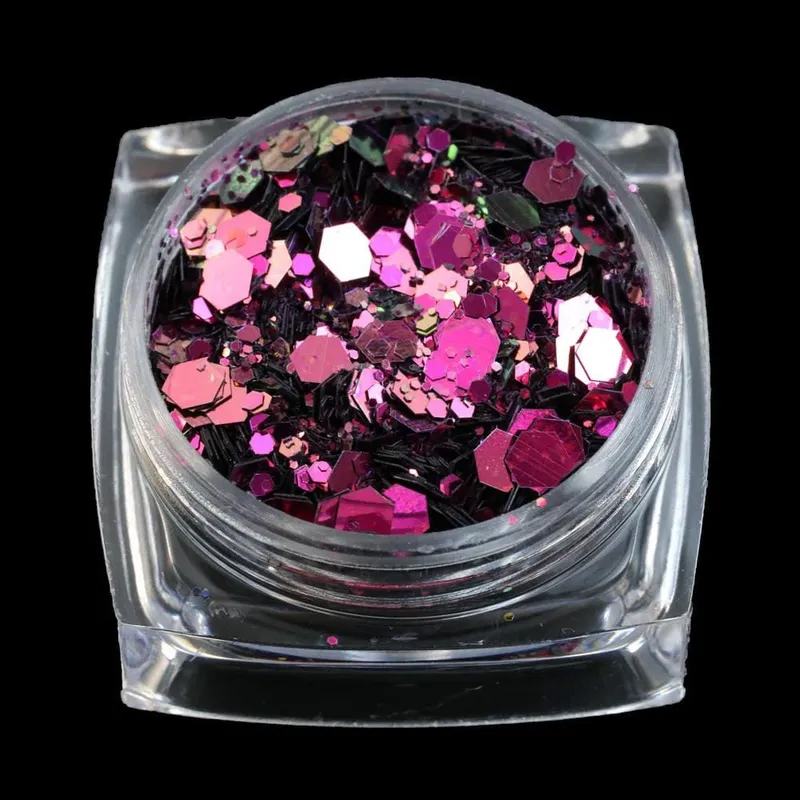
Compare these material candidates after reviewing your process and document needs. The photographs below show glitter samples for product selection.
Why does a dry glitter sample look different in resin?+
A loose sample and an embedded finish are different viewing conditions. Compare the candidate in your actual resin, backing and final thickness before approving the visual reference.
Can a sample in one resin qualify another resin?+
Treat a change of resin or cure conditions as a new trial decision. Carry forward the material reference, but review the checks affected by the new formulation and process.
Can I select one loading for every size and shape?+
Determine the loading through controlled trials of the selected cut. Record how you measured it and approve the appearance and distribution in the final object; do not assume one mixture will reproduce every effect.
Industry requirements
Make the brief specific.
Explore what matters in your sector, which documents to request and what to agree before approving a sample.
Tell us the resin, mixing or cure method, working time, finished thickness and backing colour. Add the intended effect, particle dimensions or shapes, trial loading, target distribution, order quantity and any reference casting or photograph you can share.